www.silverliningmm.com
toll-free (888) 777-0876
Conversation Setup
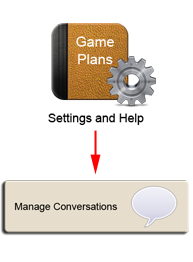
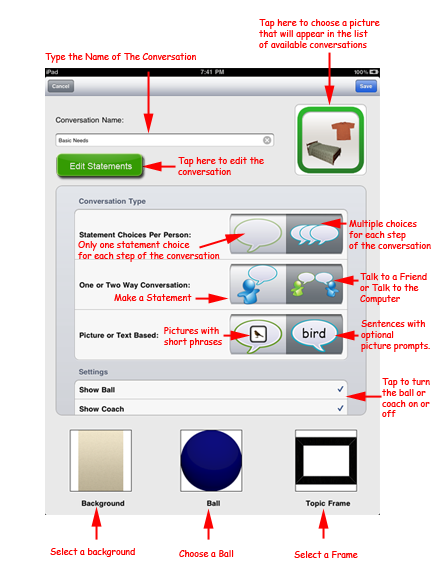
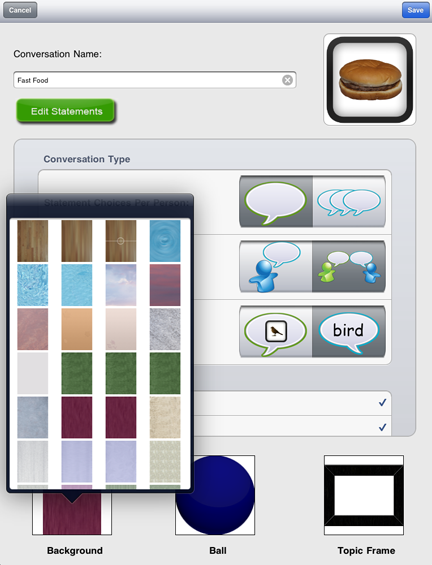
To create a conversation, select the Game Plans button on the main screen. Select the Manage Conversations button to see the screen below. From this screen, you can select the type of conversation that you would like to create, and select the background, ball and frame that will be used.
 To
select a background, ball or frame, simply tap on the current one,
and a popup window will appear. Choose something from the
popup and select SAVE. In the example below, the background
choices appear in the popup.
Simple Conversation Between Two Players
To create a very simple, 2 way conversation, use the following settings:
- One statement choice per person

- Two way conversation
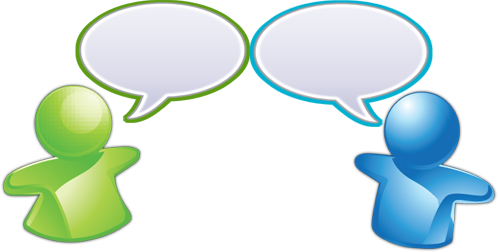
- Sentences with optional picture prompts
Complex Conversation Between Two Players
To create a 2 way conversation with multiple choices for each player, use the following settings:
- Multiple statement choices per person

- Two way conversation

- Sentences with optional picture prompts

If you have a student who is a beginning reader, you should use the picture-based instead of text-based setting. With this setting, bigger pictures are used with fewer words.

Picture-Based Setting
One Way Conversation
A one way conversation can be used to express basic needs and feelings. This mode can also be used to create picture schedules and behavioral rule charts.
| Multiple or single statement choices per person |

 |
| One way conversation |
 |
| Photos with Short Phrases or Sentences with Prompts |
 |
If you have a student who is a beginning reader, you should use the picture-based instead of text-based setting. With this setting, bigger pictures are used with fewer words.
 Picture-Based
Setting
Picture-Based
SettingWriting a Conversation
After you decide what type of conversation you would like, you can begin adding statements by using this button.

Depending on whether you have chosen multiple or single statements per person, you will see one of two editors.
Writing a Conversation with Single Statement Choices
for Two Players

This type of conversation is the easiest to write. Simply add what the first person will say, then type in the text for the second person. Continue adding more pairs, until the conversation ends.
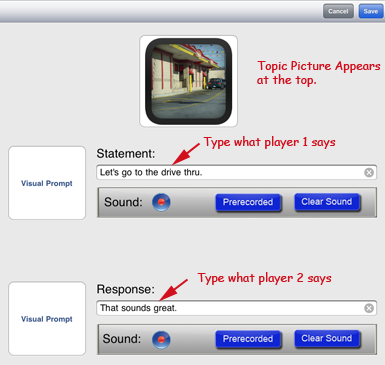
Add Photos
In addition to adding text, you can also select a picture to act as a visual prompt next to each statement. Plus you can choose a topic picture which will be larger and appear at the top of the screen. The screenshot below, shows the three ways that you can get a photo.
- Use a photo that came with the Conversation Coach
- Take a photo on the camera
- Use a photo that is in your photo library

Selecting Built-In or Photo Library Photos
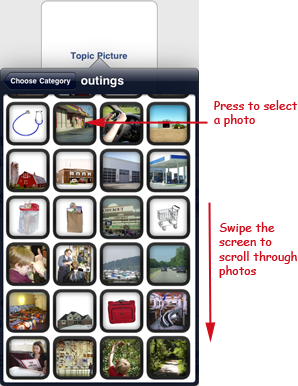
If you choose to select a built-in photo or one from the photo library, you will see a screen similar to the one below. Simply scroll to the photo that you want, and press on it to select it.
In the sample below, the drive thru picture is selected as the topic picture.
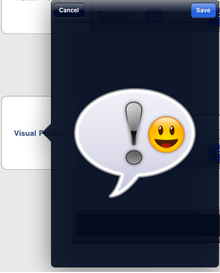
In the sample below, the exclamation point image is selected as a visual prompt. Press Save to add it to the conversation.
Taking Photos With the Camera
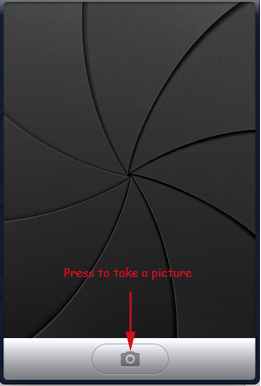
If you choose Camera, the camera will pop us as shown below. Press the camera icon to take a picture.
Add Sounds
You can add sounds that will play when a player presses on a statement. Adding sound is a good idea if a player is nonverbal. If a player can read and is verbal, it is better to let the player read the statement himself, unless you want him to hear and practice the proper inflection. Even if the sound is added to the conversation, you can turn sounds off on a player by player basis.

If you press the record button, after a sound has already been recorded, the original sound is saved in the list of prerecorded sounds, and a new one with the same name is added to the list.
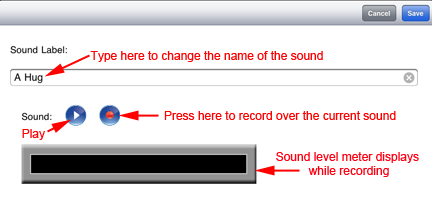
If you would like to change a sound after recording it, click on the Edit Sounds Button after selecting Settings and Help on the main page. Then tap on the Edit button as shown in the following example.
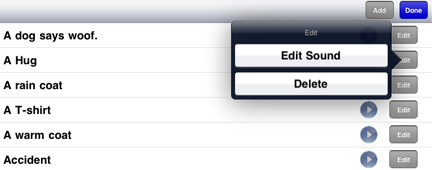
After tapping on the edit button, you will be able to change the name of the sound or make a new recording. If you make a new recording, the old recording will be erased.
Sample Conversation Screens
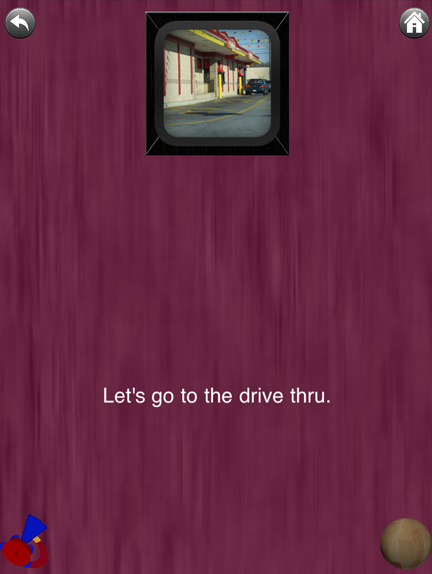
If you had made a conversation like the one above, it would appear as below for player one. Note that the topic picture of the drive-thru appears at the top. The text at the bottom has no visual prompt, because we did not add one.
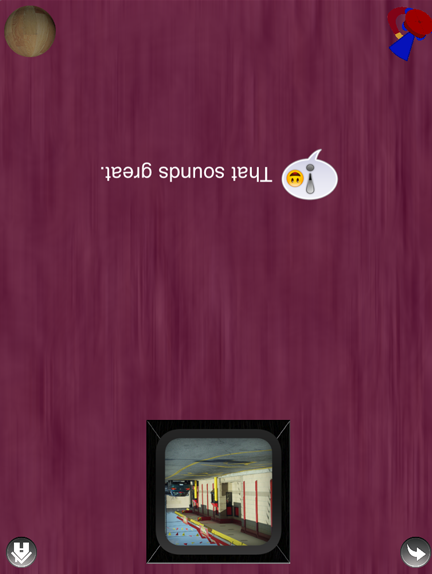
After player one presses the ball, the following screen would appear facing player two. Note that player two has a visual prompt (exclamation point and face) plus the topic picture at the top.
Writing a Conversation with Multiple Statement Choices for Two Players

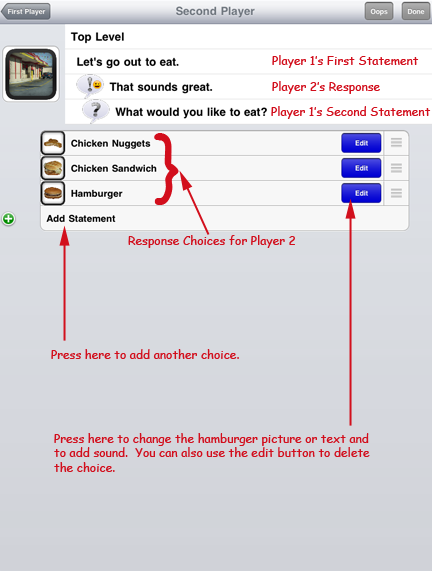
By writing a conversation with multiple choices, you give players a chance to express their wishes. For example, in the conversation above, player 2 was unable to make a choice about what he wanted to eat. In the following examples, player 2 has multiple choices. The first screen below, shows
what the editor looks like when editting Player 2's responses
to the question "What would you like to eat?"
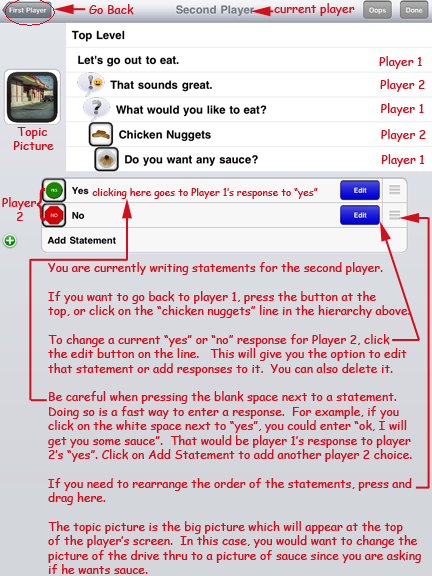
The following example is farther along in the same conversation. It shows Player 2's responses to the question, "Do you want any sauce?". Notice how you can tell
which branch of the conversation you are in, by looking at the
hierarchy at the top. If you wanted to edit the responses for the hamburger branch, click on the "What would you like to eat?" branch and then you would see the previous example. This would allow you to go down the "hamburger" branch instead of the "chicken nugget" branch.
The screen below shows how the conversation would appear for player 2 after player 1 asks, "What would you like to eat?".
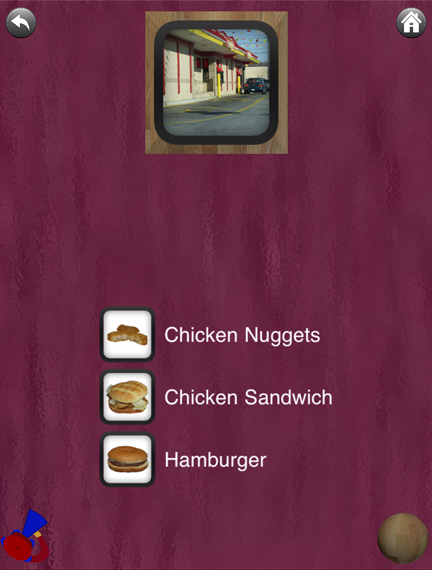
If picture-based mode
 had
been selected, a screen similar to the one below would appear.
Note that this
had
been selected, a screen similar to the one below would appear.
Note that thissample happens to have a few more choices than the one above and has a different topic picture.
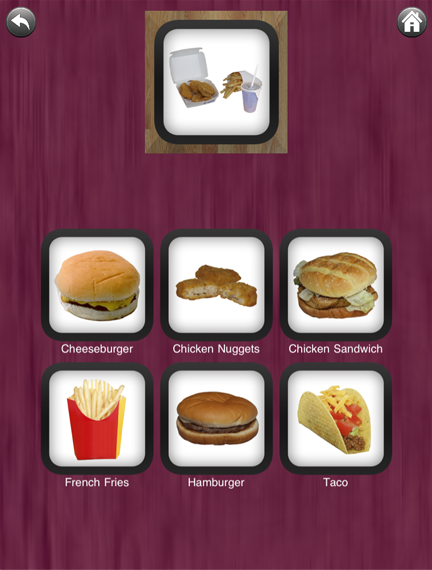
Make a Statement - One Way Conversation
This type of conversation is useful either for a player who is not ready for back and forth conversations, or for someone who may be unable to vocalize, but understands conversations and simply needs to express their wishes. This mode is similar to a conventional aac device.
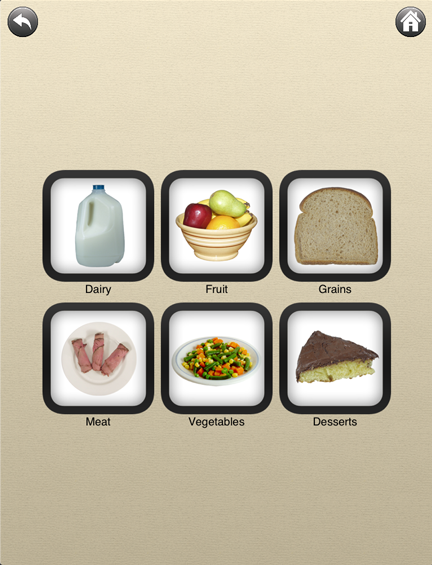
The example below shows a sample conversation with submenus. The first page shows the major food groups. When one of these is tapped, the word is spoken then the subcategory appears.
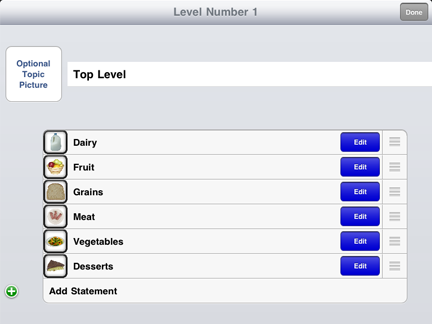
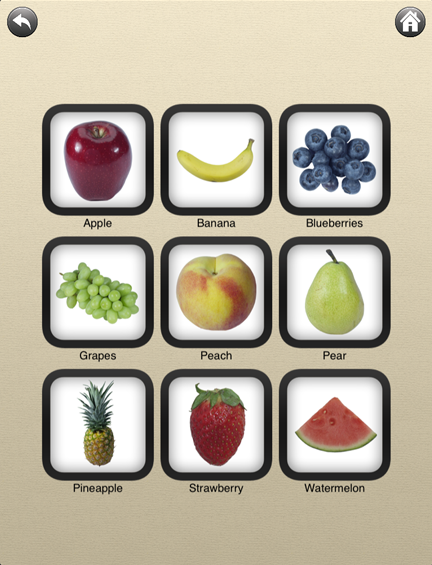
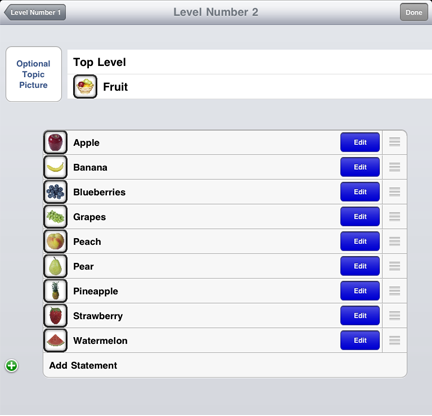
The image below shows what the fruit subcategory looks like in the editor. Note that this panel says "Level Number 2" at the top, and Fruit appears as the top level. You can always refer to the top of the screen to figure out where you are in the conversation. To add more fruits to the subcategory you would tap on the "add statement" line at the bottom.
